I aspire to become a cloud architect, specializing in AWS. To enhance my skills, I’m currently focused on learningfrom AWS Hands-on Tutorials and actively practicing their exercises.
To kickstart my learning journey, I deployed WordPress on an EC2 instance connected to an RDS instance. This practical experience allows me to solidify my cloud knowledge effectively.
Getting started
First, I created an Access key for my admin user on the AWS console. Then, I installed AWS CLI v2 and configured it using the aws configure command. Additionally, I generated an SSH key pair for my admin user with the command aws create-key-pair --key-name iamadmin --key-type ed25510.
Security Group
To ensure secure access, I created a security group and defined inbound rules for SSH (port 22) with my outgoing IP and HTTP (port 80) from anywhere.
$ aws ec2 create-security-group \
         --group-name wordpress-sg \
         --description "security group for wordpress"
{
    "GroupId": "sg-08be7f2fc07e50149"
}

$ aws ec2 authorize-security-group-ingress \
                  --group-id sg-08be7f2fc07e50149 \
                  --ip-permissions \
                  IpProtocol=tcp,FromPort=80,ToPort=80,IpRanges=[{CidrIp=0.0.0.0/0}] \
                  IpProtocol=tcp,FromPort=22,ToPort=22,IpRanges=[{CidrIp=102.115.122.126/32}]
{
    "Return": true,
    "SecurityGroupRules": [
        {
            "SecurityGroupRuleId": "sgr-07f6f9bef6e6136a3",
            "GroupId": "sg-08be7f2fc07e50149",
            "GroupOwnerId": "665553417851",
            "IsEgress": false,
            "IpProtocol": "tcp",
            "FromPort": 80,
            "ToPort": 80,
            "CidrIpv4": "0.0.0.0/0"
        },
        {
            "SecurityGroupRuleId": "sgr-0f24c91d3f558a175",
            "GroupId": "sg-08be7f2fc07e50149",
            "GroupOwnerId": "665553417851",
            "IsEgress": false,
            "IpProtocol": "tcp",
            "FromPort": 22,
            "ToPort": 22,
            "CidrIpv4": "102.115.122.126/32"
        }
    ]
}
EC2 instance
To create the EC2 instance, I launched an Amazon Linux 2023 AMI (ami-022e1a32d3f742bd8) of type t2.micro to remain within the free tier. I attached the previously created security group and specified the key pair. Additionally, I used a user data script to install the Apache web server, MariaDB client, PHP, and downloaded the latest WordPress.
$ aws ec2 run-instances \
      --image-id ami-022e1a32d3f742bd8 \
      --instance-type t2.micro \
      --count 1 \
      --user-data file://wordpress-dependencies.sh \
      --security-groups wordpress-sg \
      --key-name iamadmin
I downloaded WordPress in the /tmp directory to ensure easy access to the decompressed tar file.
$ cat wordpress-dependencies.sh
#!/bin/bash
dnf update -y
dnf install -y httpd mariadb105 php8.1 php8.1-mysqlnd
systemctl start httpd
systemctl enable httpd
cd /tmp && wget https://wordpress.org/latest.tar.gz && tar -xzf latest.tar.gz
cp /tmp/wordpress/wp-config-sample.php /tmp/wordpress/wp-config.php
RDS instance
To set up the RDS instance, I created an RDS instance of class db.t3.micro to remain within the free tier. I used the MySQL engine, default security group, and specified the database as “wordpress.”
$ aws rds create-db-instance \
      --db-instance-identifier wordpress \
      --db-instance-class db.t3.micro \
      --db-name wordpress \
      --engine mysql \
      --master-username admin \
      --master-user-password password \
      --allocated-storage 20 \
      --backup-retention-period 0 \
      --storage-type gp2
To allow access from the EC2 instance to the RDS instance, I added the security group of the EC2 instance to the inbound rule of the default security group.
$ aws ec2 authorize-security-group-ingress \
              --group-id sg-009c64cdc2e6e69a8 \
              --protocol tcp \
              --port 3306 \
              --source-group sg-08be7f2fc07e50149
Create database user
To create the database user, I accessed the EC2 instance via SSH and connected to the RDS instance using the MariaDB client. Then, I created the user “wordpress” and granted all privileges on the “wordpress” database.
[ec2-user@ip-172-31-17-105 ~]$ mysql -h wordpress.cj7ze3iwxfey.us-east-1.rds.amazonaws.com --user admin --password
Enter password:
Welcome to the MariaDB monitor.  Commands end with ; or \g.
Your MySQL connection id is 31
Server version: 8.0.32 Source distribution

Copyright (c) 2000, 2018, Oracle, MariaDB Corporation Ab and others.

Type 'help;' or '\h' for help. Type '\c' to clear the current input statement.

MySQL [(none)]> show databases;
+--------------------+
| Database           |
+--------------------+
| information_schema |
| mysql              |
| performance_schema |
| sys                |
| wordpress          |
+--------------------+
5 rows in set (0.002 sec)

MySQL [(none)]> use wordpress;
Database changed
MySQL [wordpress]> CREATE USER 'wordpress' IDENTIFIED BY 'wordpress-pass';
Query OK, 0 rows affected (0.005 sec)

MySQL [wordpress]> GRANT ALL PRIVILEGES ON wordpress.* TO wordpress;
Query OK, 0 rows affected (0.005 sec)

MySQL [wordpress]> FLUSH PRIVILEGES;
Query OK, 0 rows affected (0.001 sec)

MySQL [wordpress]> Exit
Configure Wordpress
There are two configuration sections to edit in the wp-config.php file. First, the MySQL settings must be updated:
// ** MySQL settings - You can get this info from your web host ** //
/** The name of the database for WordPress */
define( 'DB_NAME', 'database_name_here' );

/** MySQL database username */
define( 'DB_USER', 'username_here' );

/** MySQL database password */
define( 'DB_PASSWORD', 'password_here' );

/** MySQL hostname */
define( 'DB_HOST', 'localhost' );
Second, the Authentication Unique Keys and Salts should be configured. To generate the values, you can use wordpress secret key service.
/**#@+
 * Authentication Unique Keys and Salts.
 *
 * Change these to different unique phrases!
 * You can generate these using the {@link https://api.wordpress.org/secret-key/1.1/salt/ WordPress.org secret-key service}
 * You can change these at any point in time to invalidate all existing cookies. This will force all users to have to log in again.
 *
 * @since 2.6.0
 */
define( 'AUTH_KEY',         'put your unique phrase here' );
define( 'SECURE_AUTH_KEY',  'put your unique phrase here' );
define( 'LOGGED_IN_KEY',    'put your unique phrase here' );
define( 'NONCE_KEY',        'put your unique phrase here' );
define( 'AUTH_SALT',        'put your unique phrase here' );
define( 'SECURE_AUTH_SALT', 'put your unique phrase here' );
define( 'LOGGED_IN_SALT',   'put your unique phrase here' );
define( 'NONCE_SALT',       'put your unique phrase here' );
Deploying wordpress
To deploy WordPress, copy the WordPress application files into the /var/www/html directory used by Apache. Then, restart the Apache service to apply the changes.
[ec2-user@ip-172-31-17-105 tmp]$ sudo cp -r wordpress/* /var/www/html/
[ec2-user@ip-172-31-17-105 tmp]$ sudo sytemctl restart httpd.service
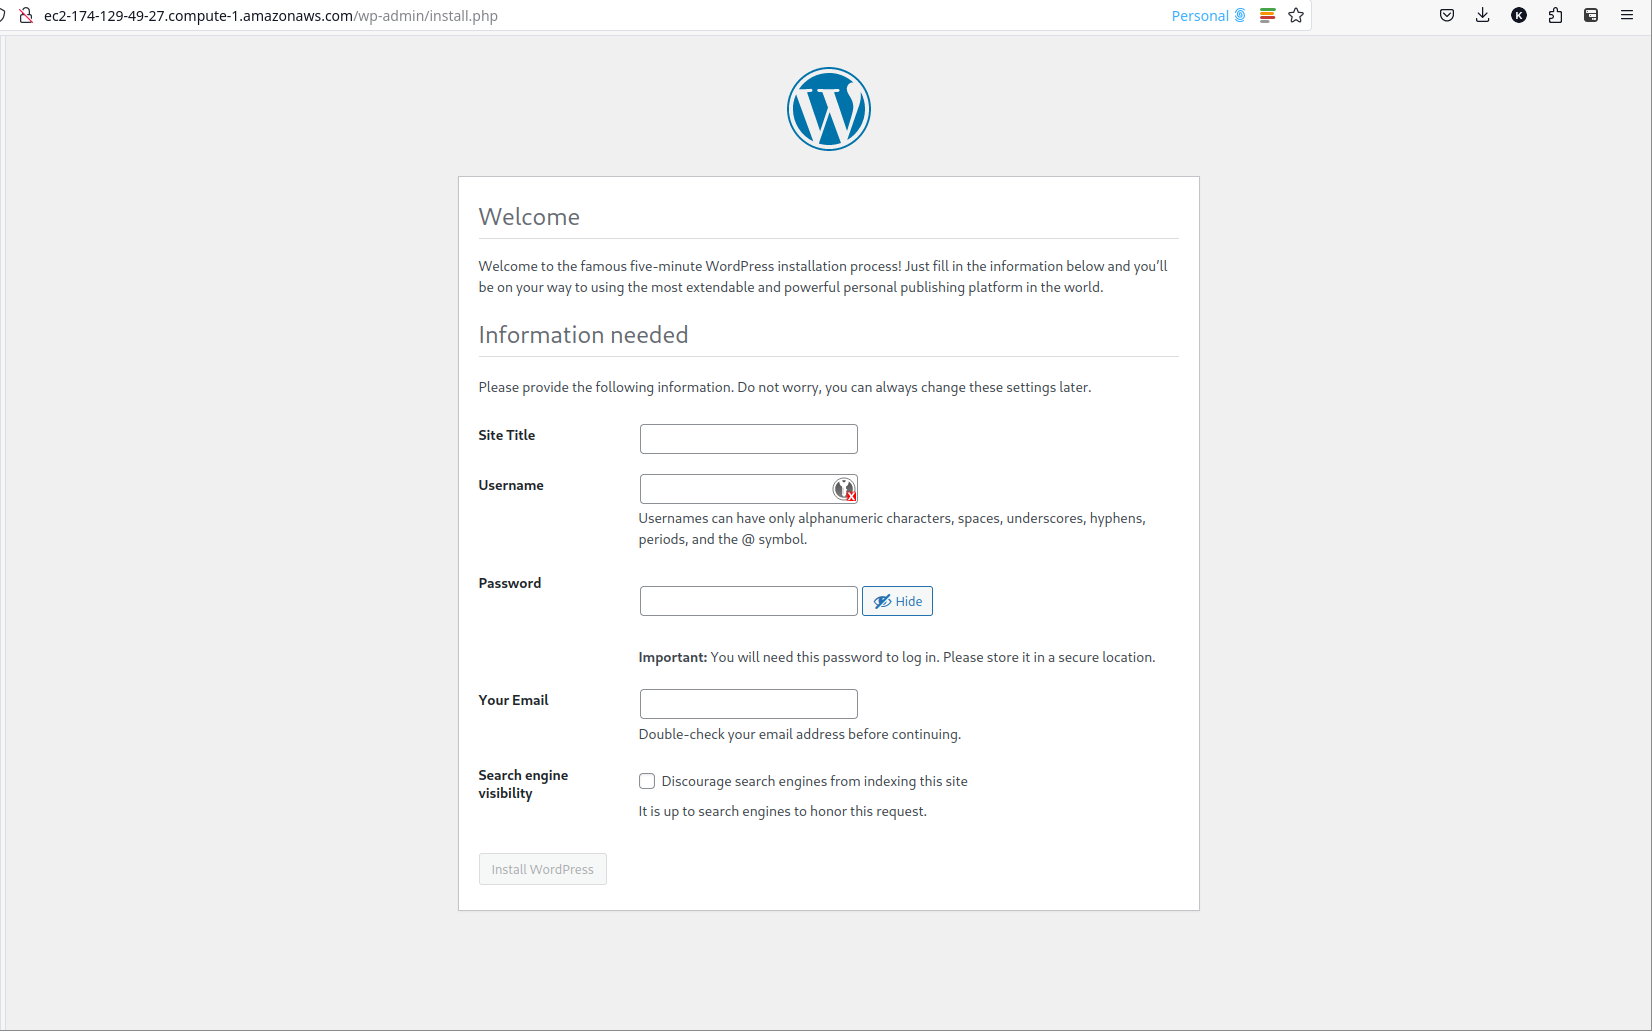
After completing these steps, you can open the EC2 instance’s Public IPv4 DNS in a web browser to access the WordPress welcome page and proceed with the five-minute installation process.
Consult the whitepaper for the best practices for WordPress on AWS.